

NEW from the Tether Tips Blog – How to Create a Custom Progress Bar within a Record
Our first tip in a while comes from Paulo Duarte, one of our Salesforce Consultants.
Introduction
Quick wins that improves UX are a great way to impress clients. So let me introduce you to this really cool looking Horizontal Bar to indicate Scoring.
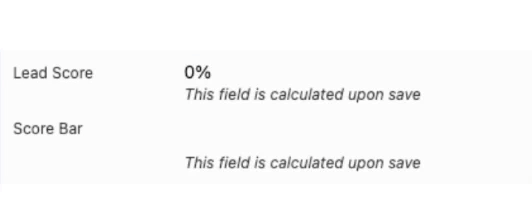
The ‘Lead Score’ formula field is a simple calculation that adds 20% per quality gate field that is populated on a Lead record. In this scenario for example, this Lead has 4 BANT fields (Budget, Authority, Need, Timeline) and 1 custom field that acts as its quality gate. Each time these fields are populated, it adds 20% towards the Lead Score, for a total of 100%.
Visualising Scores
‘Score Bar’ is where the magic happens. This formula displays a horizontal colour bar of a length that is proportional to a numeric score. Every 20% of the score adds a chunk towards filling this bar and is arranged as follows:
- Score is 0% = White (empty)
- Scores 40% or below = Red
- Scores above 40% and 80% or below = Yellow
- Scores above 80% = Green
Salesforce allows for various different icons to be used to help indicate the quality or status of a record by taking advantage of formula fields with the IMAGE function. The Horizontal Bar however is the first I have come across whereby instead of changing the image completely, it adds on to the existing image, providing the effect of fulfilment and/or accomplishment.
The Formula
Here is how what the formula looks like:
IF(
Lead_Score__c <= 0.4,
IMAGE("/img/samples/color_red.gif", "red", 15, Lead_Score__c * 120),
IF(
Lead_Score__c <> 1.0,
IMAGE("/img/samples/color_yellow.gif", "yellow", 15, Lead_Score__c * 120),
IMAGE("/img/samples/color_green.gif", "green", 15, Lead_Score__c * 120)
 )
)
In this example, 120 represents the length of the bar in pixels, and 15 represents the thickness of the bar in pixels. You can customise these to suit your preferences for a longer/shorter or thicker/thinner bar.
There’s no need to worry about uploading these images either. These are part of the ‘sample’ images that are standard in Salesforce. Simply copy and customise this formula and you’re well on your way to impress your clients.
Summary
This should give you everything you need to get started and provide a good foundation for you to make your own version of this progress bar and start visualising your lead scores to make more considered qualification decisions. For more information, please refer to this document of Examples of Advanced Formulas (p25) from Salesforce.
Thanks for reading, we hope this helped,
Paulo Duarte
The Tether Team
#salesforce #salesforcecrm #tethertips #crm #progressbar #formula #salescloud