NEW from the Tether Tips Blog – Customise the welcome email for your customer portal
A really helpful tip from our Salesforce Administrator Simon O Leary this week.
Have you just set up a community, invited your first member and realised they received a standard Salesforce link with no branding on it? Here’s a way to solve this quickly! There are two ways to handle this; edit the current template or create your own from scratch.
Edit The Current Template
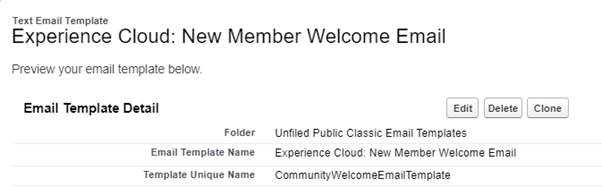
While you can create an email template from scratch, the quickest way is to jump in and edit the current welcome email. This can be found in:
Setup > Classic Email Templates > Experience Cloud: New Member Welcome Email
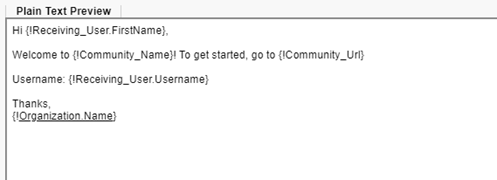
So why use this over the standard Salesforce functionality? Here you can edit the text in the box below to deliver a custom message that’s more reflective of your brand. What you will see in the box below is a number of items in brackets like “{!Community_URL}”, these are “Merge Fields” and will be replaced with the correct data when the email is sent to a new member!
Once you have added what you would like to, save the changes and your welcome email is ready to go!
Create Your Own:
What if you want to start fresh and create a new lightning template for your portal’s welcome email? Well to do this go into any application on your org, open your app manager and search for “Email Templates”.

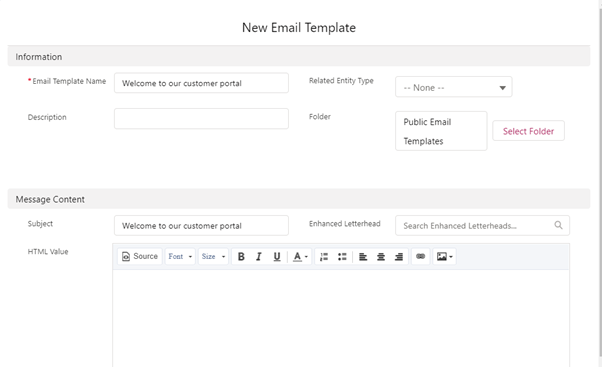
Here you can create a new lightning email template, including merge fields and images. Once you are happy with how your email reads, you can save it to a folder and now we can find where to set these email templates!
Change or disable the welcome email:
To find where to change this, go to:
Setup > Digital Experiences > All Sites
From here you will see a list of your Salesforce Digital Experience Sites, click “Workspace” beside the one you wish to edit and choose the “Administration” tile from the next screen. Over on the left you can select “Emails” to find this screen:
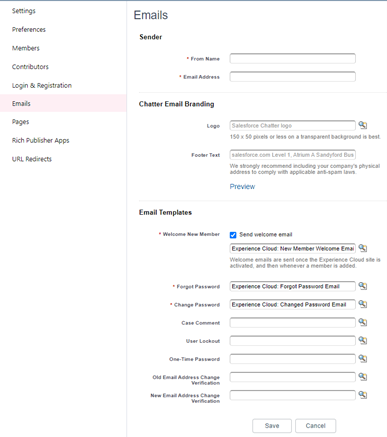
From here you will see the “Welcome New Member” checkbox is ticked. You can uncheck this to disable welcome emails, or select the magnifying glass beside it to change to a different email template.
That’s it, you’ve got your custom Welcome Email ready to go when a user is enabled in your portal.
Thanks for reading,
We hope this helps!
The Tether Team
#salesforce #salesforcecrm #tethertips #crm
Frequently asked questions (FAQ’s)
Why do picklists in Salesforce screen flows not retain default values automatically?
Picklist choice sets in Salesforce do not allow a default value to be set directly. Unlike other fields, picklists require a workaround to retain values when a user jumps in and out of a flow.
How do I apply the Choice Resource as the default value in my picklist?
Open your screen flow.
In the Select Choices section, add both your Choice Resource and Picklist Choice Set.
Set the Choice Resource as the Default Value.
What will the picklist show the first time the flow runs?
The picklist will display “Please Select” (or whatever default text you set). After the first run, it will retain the previously selected value.
Can I change the default text to something else?
Yes! Simply modify the formula in the Formula Resource to return a different default value.
Where can I learn more about improving my Salesforce screen flows?
Check out our blog post on using the Lookup component in a Salesforce screen flow for more tips on optimizing your flows.